 |
| All rights to images reserved copyrights Alicia Lewis @ KitchenTakeovers |
The challenge of coming up with an allergen free gingerbread biscuit recipe was something I couldn't pass up on. No dairy (not a problem for me). But here's where it got tricky - no nuts, seeds, soy, or eggs. And whilst the list was so long, I thought what the heck, I might as well make it wheat free too.
Crickie I sure had my work cut out for me with this one!!
So, it was another KitchenTakeovers experiment on the horizon. At first I thought adapting the chestnut tart base might work; seeing as I did make some very delicious free-from cookies from it. But didn't want to risk it just in case. Chestnuts, are rarely an issue for those with nut allergies (it more closely related to latex allergy), however, no two people are the same so I erred on the side of caution.
Checkout 'Anaphalxysis.org.uk' for more information on nut allergies if you or anyone you know need more information on this. whatallergy.com and home.allergicchild.com both have detailed information on every possible food allergy there is. With great tips and information, they are both worth a look.
Also, new EU regulations on food allergens came into force 13.December.2013. What does this mean for us suffers? well, eating establishments including restaurants and takeaways will be required by law; to tell you if any of the 14 common food allergens are used in the food they are serving. Be proactive and click on the highlighted links to learn more.
Coming up with new recipes is one of my favourite activities, it is up there with cooking, crafting and long walks. And the best bit?! sharing the successes of these recipe creations with you all.
So, I got my ingredients together, rolled up my sleeves, with note book and pen to hand. I was ready for the challenge two attempts and nailed it.
I found the decorating process very relaxing...let the fun begin!!
Allergen Free Gingerbread Biscuits
 |
| All rights to images reserved copyrights Alicia Lewis @ KitchenTakeovers |
Ingredients
- 180 g Plain gluten free flour (I use Doves Farm, not in the picture as the bag burst and was a hot mess)
- *40 g fine oatmeal powder (optional, use gluten free oats blitz in blender)
- 63 g Trex margarine (other dairy, soy, or nut free margarine)
- 63 g sugar
- 1 tablespoon apple cider vinegar
- 30 mls rice milk/cream (other alternative milk)
- 2 tablespoon golden syrup
- 2 tablespoon molasses
- 1 teaspoon baking powder
- 1 teaspoon baking soda
- 1 teaspoon ground ginger
- 1 teaspoon fresh ginger grated
- 1 teaspoon ground cinnamon (or mixed spice)
- *1/4 teaspoon nutmeg grated (optional)
- icing sugar and icing pens for decoration
#As with all recipes on this blog unless otherwise stated they are my own; be kind enough to, link back to original, make, share and highlight - happy sharing #
Preparation
Preheat the oven 180 degrees
Cream the sugar and margarine together, then slowly add the golden syrup whilst whisking. In a separate bowl or measuring jug, add the milk, vinegar and molasses and combine well.
 |
| All rights to images reserved copyrights Alicia Lewis @ KitchenTakeovers |
Put all the dry ingredients in a separate container and stir together well with a wooden spoon or whisk.
 |
| All rights to images reserved copyrights Alicia Lewis @ KitchenTakeovers |
Combine the sugar mixture and the dry ingredients till smooth, then slowly add the molasses mixture a little at a time folding in as you go. It might start looking a little curdled but don't worry it will eventually combine fully.
 |
| All rights to images reserved copyrights Alicia Lewis @ KitchenTakeovers |
Once all the ingredients are combine fully, put the dough in the fridge for at least an hour or freeze over night (it is important to keep the dough chilled when working with it).
 |
| All rights to images reserved copyrights Alicia Lewis @ KitchenTakeovers |
Remove the dough after an hour, take half the dough out and leave the other half in the fridge.
 |
| All rights to images reserved copyrights Alicia Lewis @ KitchenTakeovers |
Get a rolling pin and heat proof baking mat or parchment paper, sprinkle gluten free flour on mat and rolling pin.
 |
| All rights to images reserved copyrights Alicia Lewis @ KitchenTakeovers |
Roll out the dough, the thinner you roll it, the crunchier it will be and less time it will take to bake.
 |
| All rights to images reserved copyrights Alicia Lewis @ KitchenTakeovers |
Flatten the dough, then use cookie cutters - cut out the shapes then gently peel away the rest of the dough.
 |
| All rights to images reserved copyrights Alicia Lewis @ KitchenTakeovers |
 |
| All rights to images reserved copyrights Alicia Lewis @ KitchenTakeovers |
Reform the the leftover dough into a ball and return to the fridge to firm up for next lot of cookies. Repeat the steps till you have used up all your biscuit dough.
Bake in batches in the preheated oven for 4-8 minutes at a time, depending on how thick you have rolled them. Halfway through baking remove the baking tray and turn it around so the biscuits bake evenly. Remove from the oven and cool on a wire rack.
 |
| All rights to images reserved copyrights Alicia Lewis @ KitchenTakeovers |
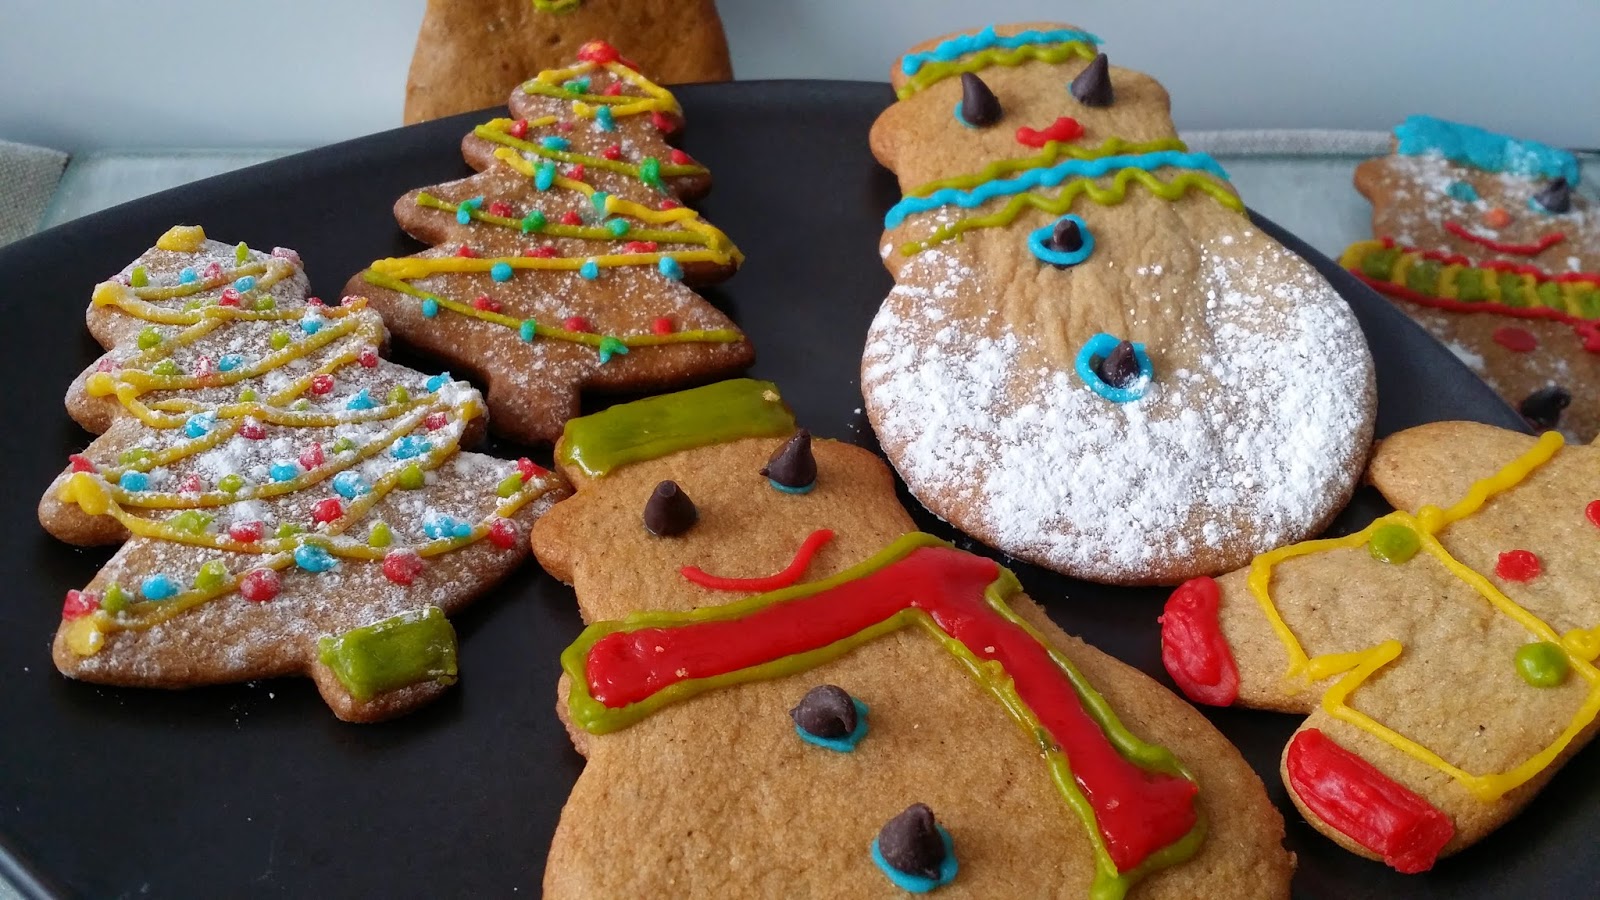
Once cooled, you are now ready to unleash your imagination and decorate to your hearts content!
Bon Appétit!!
 |
| All rights to images reserved copyrights Alicia Lewis @ KitchenTakeovers |
Till next time, EAT mindfully, DRINK responsibly, and EXERCISE your mind and body!!!
***Disclaimer: Any of the information within this blog post and others on this site is for information and educational purposes only and is NOT intended to be taken as diagnosis, treatment, cure or to prevent any disease. Any reader concerned about his or her health is advised to seek medical advice from their GP or relevant medical professional***
Labels: dairy free, Gluten free, Nut free, Recipe List, Soy free, Sweet Treats, Vegan